|
Engine in place
I wanted the engine to go in this fall, and it did! Aaron and I fiddled with the fit of the torsion bar reaction plate — the bane of
the removal of the engine renewed in reverse! — and the next day slipped the engine into place. Here's how it looked just after it was put into place.

The actual installation was on my birthday, so it was a very good day. As a matter of fact, I think it was my best birthday in years.
Aaron and I dropped the engine in from the top. Bill McKenna opted for the
bottom, and there is some feeling that the bottom-up method
is easier than dropping the whole hulk from the top. When we took out the engine the first week we had the car
(over five years ago!), we lowered it and lifted the subframes to allow us to pull the engine
and transmission forward. I recalled fighting with the motor mount brackets to get them to clear on the way down, so this time we put the engine
in from the top. My father had warned about chipping the paint on the subframes, and so we put a couple of layers of masking tape on the frames.
 The tape did provide protection from the inevitable bumps.
It is a fairly tight fit from the top, and you do have the raise the engine high enough that it feels a little scary. The touchiest part is
tipping the tranmission end down, though the hoist we have includes a nifty worm-geared adjustment that makes pitching the engine angle a matter
of turning a crank. The process of setting the engine into place really amounted to easing it into place by gradual leveling of the engine and
lowering it in steps. We did have some extra — perhaps even necessary? — wiggle room because we did not have the crankshaft
pulley attached to the crankshaft dampner. (I actually haven't bought it yet.) This meant we had a couple centimeters to play with when the oil pan
was just below the top of the picture frame.
Not only has the engine changed...
It's fair to say that the engine would still be sitting on the floor in front of the car were it not for Aaron, who worked to resolve some of the
fitment issues that I had wrung my hands about over the past several weeks.
Literally, I had fretted about things so much that I had avoided doing much to resolve the issues.
Well, I had actually fretted not so much about things in plural as a specific thing: that terror-inducing construct having to do with the torsion
bars. As I've said before, I hate torsion bars. And our experience five years ago with the torsion bar reaction plate still
is amazingly fresh in my mind. The thing was a beast to get off, especially since we were cramped under the car and hadn't really too deep an
understanding of the dynamics of the front suspension. The role of the reaction plate in the front still seems a little mysterious to me, since it
has been claimed that the reaction plate actually imparts something between the two torsion bars, allowing them to communicate in some advanced engineering
sort of way. Perhaps. All I know is that the plate goes in after the engine is in place, and the plate either fits or it doesn't, since the fittings
just won't give.
To make sure that the reaction plate was going to fit, I actually used it to set the location of the two halves of the replacement floor
(right and left), but that was before the POR-15, undercoating, primer, and paint. The coatings made
 enough of a difference that additional futzing was required. Believe me, it takes very little to make the reaction plate tighter than works well.
Bill McKenna had to do the same, he reported, though he used a grinder to take off the excess powder coat and such. Aaron and I didn't resort to that,
but we did whack and bump a fair amount. I suspect that professionals might actually take better account of the coatings when they use the reaction plate
to fit new floors. I didn't think of that when we were installing the new floor panels.
enough of a difference that additional futzing was required. Believe me, it takes very little to make the reaction plate tighter than works well.
Bill McKenna had to do the same, he reported, though he used a grinder to take off the excess powder coat and such. Aaron and I didn't resort to that,
but we did whack and bump a fair amount. I suspect that professionals might actually take better account of the coatings when they use the reaction plate
to fit new floors. I didn't think of that when we were installing the new floor panels.
It's important to get all of the bolts fitted without having to contend with the engine and transmission, so if you're doing a restoration like mine,
fit the reaction plate before dropping the engine in. That little extra time will take hours off the work.
We took the tension off the torsion bars, of course. It actually isn't that bad a job to do, but it is a hassle — seems too much a sideline in
relation to the real show of the engine going in. And, of course, there's no graceful way to get at the bolts for the torsion bars and the reaction plate
once the engine is occupying all that space.
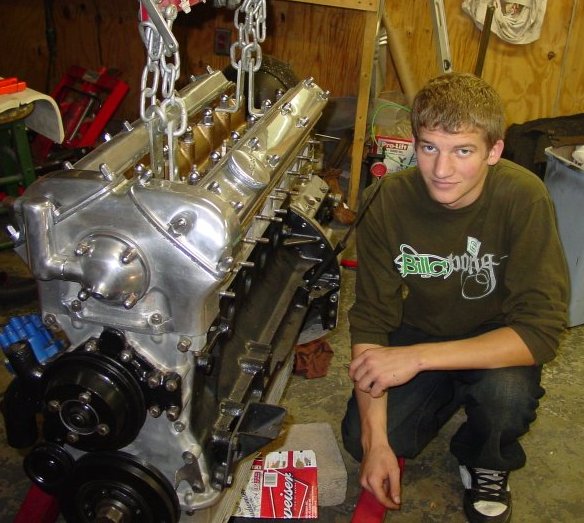
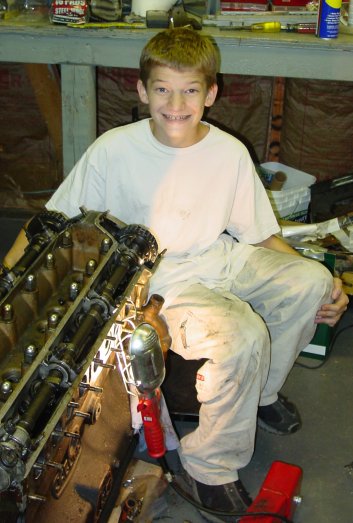
I was struck at how much Aaron has changed from the time when we first took the engine out (and he had managed to mangle a bronze bolt or two) and the
time when we put the new engine in. Pictures say it all. He's grown up to be a handsome man.
I'm now beginning to collect the parts I need to do all of the cooling and fuel and ignition work. Cooling hoses are the first thing on the list.
I've found that bringing the old hoses into the parts shop works just fine. Gates replacement hoses are available, and Mike Frank has published a
list of them. I'll add to the options with another list in the near future. Several of the old hoses are either Jaguar replacements or (heaven forbid!)
the originals. They're in pretty tough shape.
|
